

How To Repair Slanted Roofline Of Wood Poarch Awning
Concluding Updated on March 24, 2022 by
My brother and I merely got halfway done with what I had hoped to accomplish yesterday, but we learned a lot forth the way. The large moving picture goal hither is that I'll be roofing my existing physical front porch with wood and then that I tin can stain information technology and information technology will look like a traditional forest forepart porch. But you can't just put wood porch/deck boards directly onto concrete. First, you have to attach risers/sleepers to the concrete and and then the porch boards tin can be screwed to the risers.
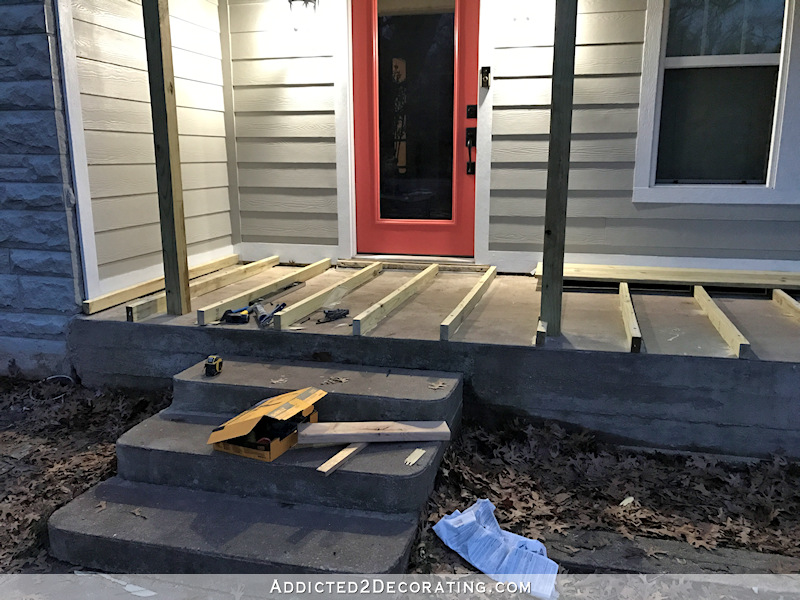
So the programme yesterday was to become all of the risers/sleepers attached to the porch. The plan itself seemed pretty straightforward, and I'd need about 15 risers in all, spaced at 16 inches on center. The execution proved to be a scrap more challenging than nosotros had anticipated for reasons I'll explain in a second.
Just first, here'due south a await at my current physical porch so you tin remember exactly what nosotros're working with…
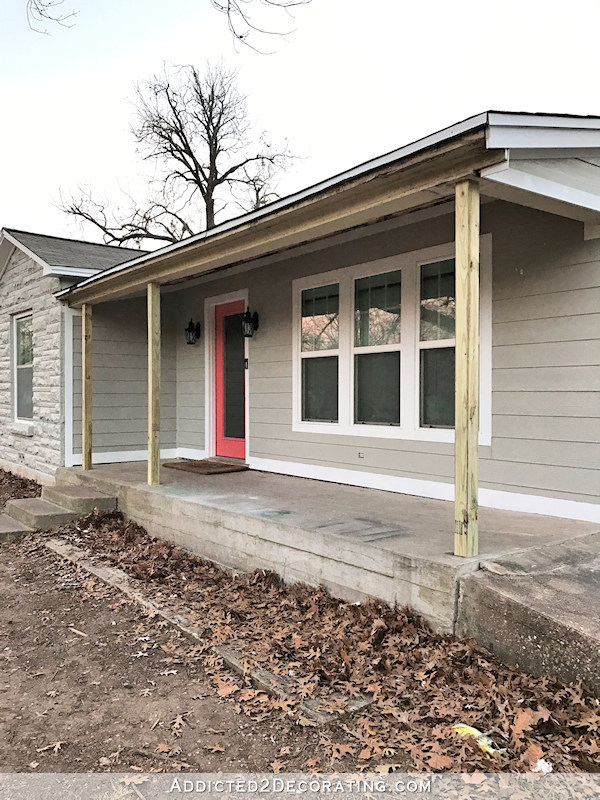
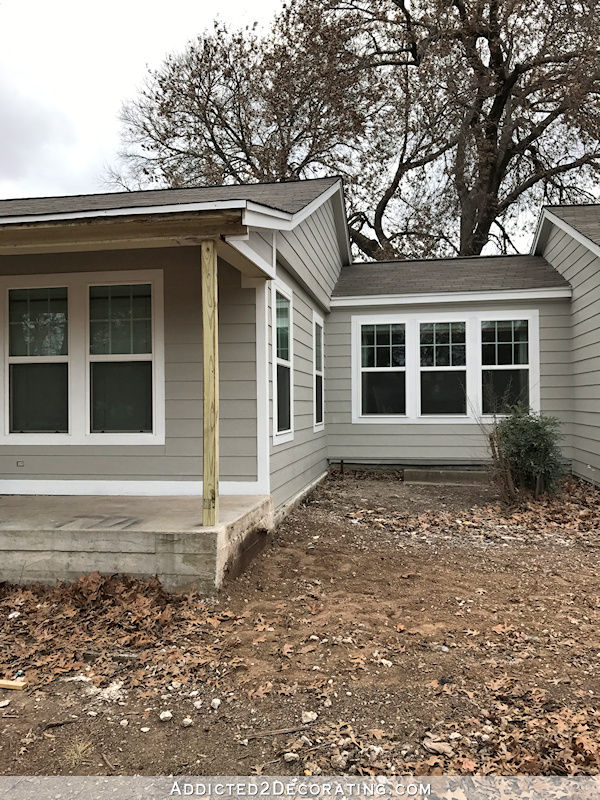
The ramp on the side was removed later I took that picture, and unfortunately, I failed to get a pic of the whole porch without the ramp before we got started. Just I practice accept this one that I took the solar day it was removed showing just a portion of the front porch…
If you wait at that first moving-picture show, you lot'll see the issue. Over the seventy years since the concrete porch was poured, the porch has moved and sunk a bit on the left side (towards the front end door) and is no longer level. If you lot follow the white trim board at the bottom, it's pretty obvious how unlevel the porch is.
So as we installed the risers for the wood porch, nosotros also had to rip them at dissimilar heights using the table saw so that the finished porch would be level. For the risers, nosotros used pressure treated 2 x 4's that are rated for ground contact.
We started at the loftier end of the porch, which is the cease where the ramp was removed. That stop, from the firm (back) to the yard side (forepart) was level…miraculously. So using my tabular array saw, I ripped a strip off of the edge of a ii x iv that was three/iv-inch thick. Then I used the strongest exterior construction agglutinative I could find (something similar Liquid Nails Extreme, I think it was), and glued that first riser along the edge. Then I used my Ramset (i.due east., a gunpowder-actuated nail gun for driving nails into concrete) to attach the first riser using 3 nails.
And immediately, we saw that it wasn't going to be as simple as we had hoped. The nails weren't going in all the way. The nail gun was leaving about an inch of the boom exposed.
Nosotros measured and cut the 2d board, glued and nailed it downward, and had the same problem. That time information technology also split the wood and cracked a very top thin layer off of the concrete, meaning that the blast wasn't actually embedded into the concrete.
This was the same Ramset that we used to nail the plywood subfloor over the newly-poured physical in the breakfast room (you tin read more about that here), and it worked perfectly for that project. Then nosotros adamant that these Ramset smash guns (at least the ones that are available at places like Home Depot) take enough power to drive nails into new concrete, just nailing into 70-year-quondam concrete is a different story. So nosotros decided to abandon that thought.
I had purchased Tapcon concrete screws but in instance the smash gun didn't work out, just I didn't realize that those required a hammerdrill, which I didn't have. So with but two risers down, and just an 60 minutes or so into our projection, we had to cease working and make a trip to Dwelling house Depot. By the time we got back, ate some dejeuner, and got started once again, that put us pretty far behind, and nosotros only had about two hours or so before the dominicus would start going down and it would start getting too common cold to work outside (for me, at least! 😀 ). Only we did manage to get eight of the xv risers installed.
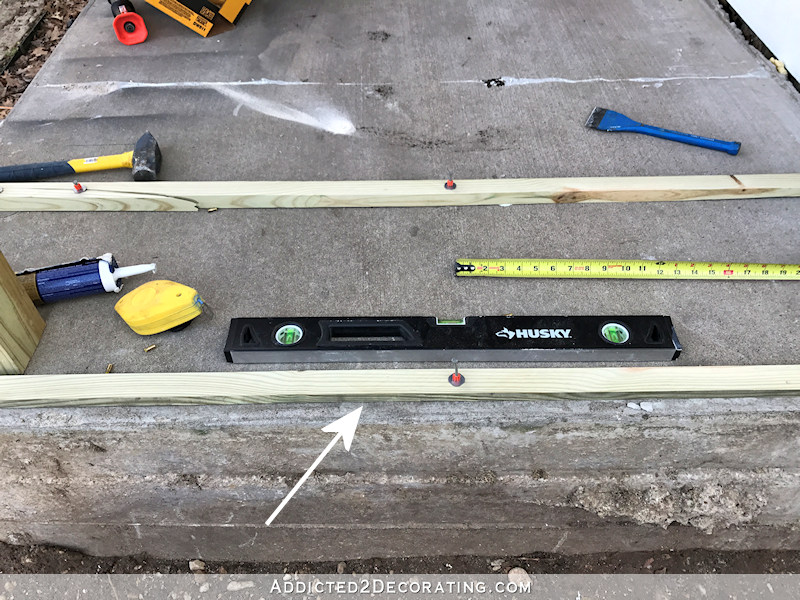
Once the first riser was in place, we measured and marked every 16 inches for placement of the remainder of the risers. In order to measure out and cutting the next riser, my brother would hold the level so that one finish was on the previously installed riser and the other end was hovering above where the next riser would exist placed. And then I would measure the distance from the lesser of the level to the concrete.

I took that motion picture just for demonstration. We actually took measurements at the very back and then at the very front end. Then I'd transfer those measurements to the 2 x 4 and rip it using my tabular array saw.
This was a bit challenging because the measurements would be different at the front and dorsum, meaning that I couldn't just rip an even strip down the lath using the guide fence on the table saw. At the front, the board might need to be one.5 inches tall, while at the dorsum, information technology might demand to be 1.75 inches tall. And then that meant that I had to measure and mark the heights on each end, use a straight edge to depict a cut line on the board, and then rip the board without using the guide fence on the tabular array saw since it wouldn't practise any good. I just had to eyeball the line every bit I ripped the boards. It was challenging, and we certainly didn't become any of them perfect, but they were good enough to do the job that needed to be done.
So the process was that we would cut 1 riser, attach it with exterior structure glue and Tapcon screws. And so using the level, we would accept measurements at the back and at the forepart for the required height of the next riser. I would transfer those measurements to the next 2 10 4 board, employ my table saw to rip it to the right height, then nosotros'd test it to be certain it was the correct height by putting information technology into place and checking with the level at the back, center and front end. On a couple of boards, we'd have to have it back to the tabular array saw and trim off an eighth of an inch or so. On i board, we actually had to shim information technology in the middle using some scrap from a previous ii x 4 we had ripped. Simply one time the dry fit was level, we'd gum and screw that board downward. Then it was on to the adjacent riser.
The Tapcon screws didn't piece of work perfectly either, though. Even though I was using a hammerdrill, and I pre-drilled the holes with the drill flake that came with the Tapcon screws, some of those screws just didn't want to go in all the way. I might only have to supercede those with shorter screws. Permit's just say that there's nothing simple or straightforward virtually working with lxx-year-quondam concrete. 🙂
But the eight risers that nosotros got installed expect pretty darn good. I placed a 2 10 4 on top along the back then that I could run into how it looks. That looks pretty level to me! Of course, actual porch/deck boards aren't as thick as a ii 10 iv, merely you get the idea.
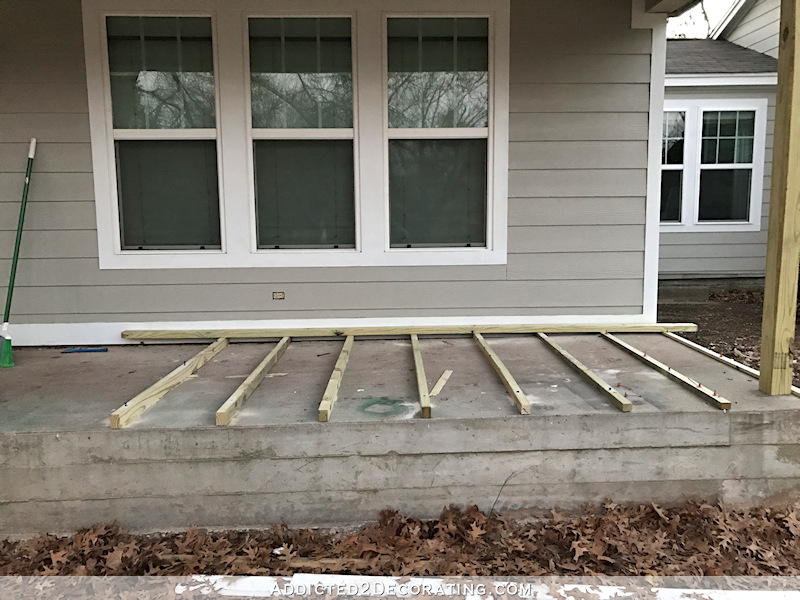
So we take about seven more than risers to install, which should get much faster now that we take the right tool and we know the process. Unfortunately, the weather is not cooperating, so I take no idea when we'll exist able to get the rest of them finished.
In one case those are washed, I volition still demand to install spacers on the forepart and right side of the concrete to attach the white trim board to. (Skirting board? Fascia board? I accept no idea what it's called.) Once all of the risers and spacers are installed, I tin can finally install the actual porch boards.
I am wondering if I might need to paint the concrete and risers black before I install the porch boards, though. The porch boards volition have tiny picayune spaces betwixt them, and I really don't want concrete and unfinished riser boards to prove through. So I might need to add together that step too.
And if all of this is clear as mud, hopefully it'll become much clearer as this project progresses. 🙂
UPDATE:
The new woods porch flooring is finished! Click the links beneath to see the remainder of the posts in this project.
- Part 2 – Wood Front end Porch Progress
- Part 3 – More than Forepart Porch Progress
![]()
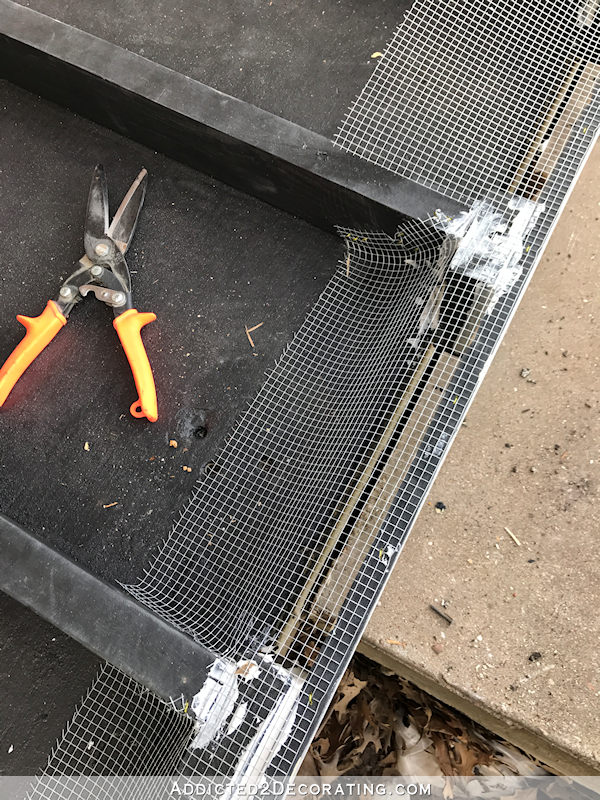
- Part 4 – Critter-proofing and Installing the Porch Boards
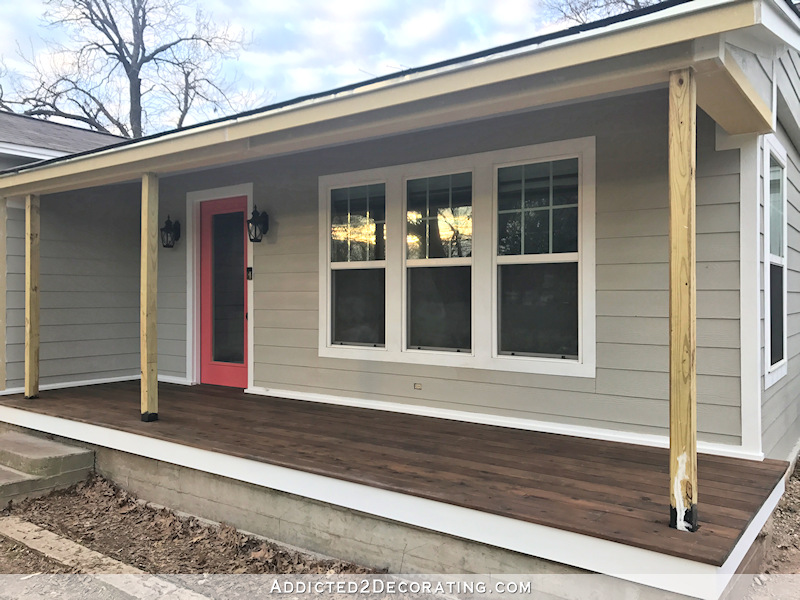
- Function five – Finished Front Porch Flooring (Wood Front Porch Built Over Existing Concrete Porch)

Addicted two Decorating is where I share my DIY and decorating journey every bit I remodel and decorate the 1948 logroller upper that my hubby, Matt, and I bought in 2022. Matt has M.S. and is unable to practise physical work, so I practise the majority of the work on the house past myself. You can learn more nearly me hither.
I promise y'all'll join me on my DIY and decorating journey! If you want to follow my projects and progress, you tin can subscribe below and have each new post delivered to your electronic mail inbox. That way you'll never miss a thing!

Source: https://www.addicted2decorating.com/covering-an-existing-concrete-porch-with-wood-part-1.html
Posted by: kratzolonstake90.blogspot.com
0 Response to "How To Repair Slanted Roofline Of Wood Poarch Awning"
Post a Comment